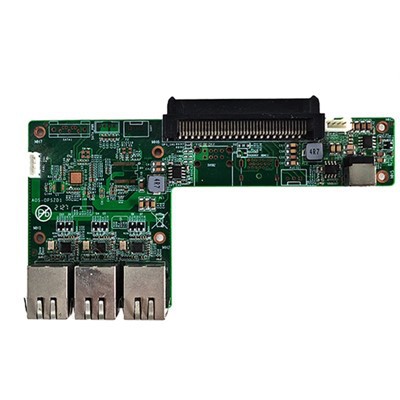
Hey there! As a supplier of RK3399PRO Android OPS Computers, I often get asked about how to connect these nifty devices to a projector. It's a great question, especially if you're looking to use your computer for presentations, home theater setups, or even educational purposes. In this blog post, I'll walk you through the step-by-step process of connecting your RK3399PRO Android OPS Computer to a projector.
What You'll Need
First things first, let's talk about what you'll need for this connection. You'll obviously need your RK3399PRO Android OPS Computer and a projector. Additionally, you'll need the appropriate cables. Most projectors support HDMI connections, so an HDMI cable is a good bet. However, if your projector or computer has different ports, you might need an adapter. For example, if your computer has a DisplayPort and your projector only has an HDMI port, you'll need a DisplayPort to HDMI adapter.
Checking Your Ports
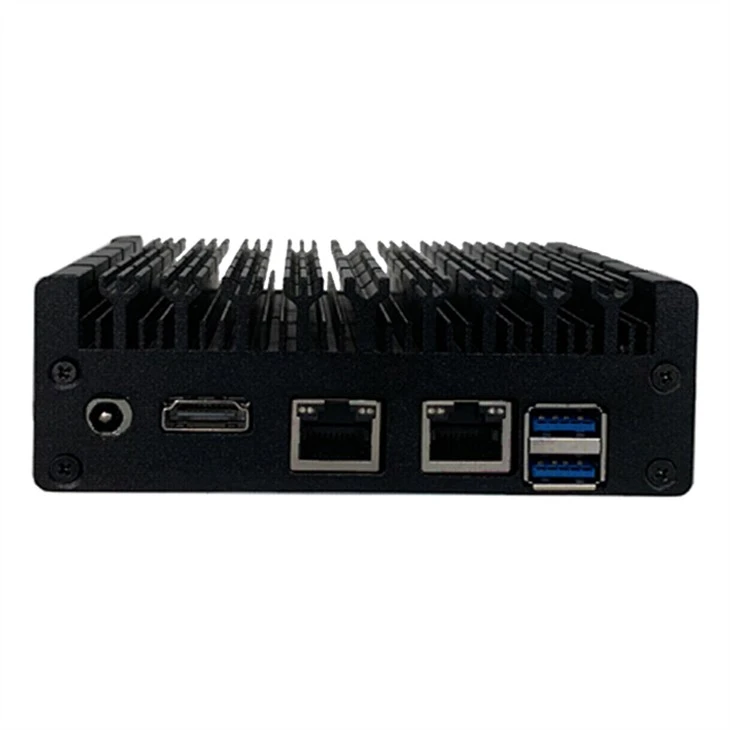
Before you start connecting anything, it's a good idea to check the ports on both your computer and your projector. Look for the HDMI ports, which are usually rectangular with slightly rounded corners. Some projectors might also have VGA ports, which are blue and have a trapezoidal shape. Make sure you know which ports are available and which ones you'll be using.
Making the Physical Connection
Once you've identified the ports, it's time to make the physical connection. If you're using an HDMI cable, simply plug one end into the HDMI port on your RK3399PRO Android OPS Computer and the other end into the HDMI port on your projector. If you're using an adapter, connect the adapter to the appropriate port on your computer first, and then connect the HDMI cable from the adapter to the projector.
Powering On Your Devices
After you've made the physical connection, it's time to power on your devices. First, turn on your projector. Most projectors have a power button on the front or side of the device. Press the power button and wait for the projector to warm up. This might take a few minutes, so be patient.
Once the projector is powered on, turn on your RK3399PRO Android OPS Computer. If you've set up your computer to automatically detect external displays, it should detect the projector right away. However, if it doesn't, you might need to manually select the display source on your projector.
Selecting the Display Source on Your Projector
To select the display source on your projector, look for a button on the projector's remote control or on the projector itself that says "Source" or "Input." Press this button, and a menu should appear on the projector screen. Use the arrow keys on the remote control to navigate through the menu and select the input source that corresponds to the port you used to connect your computer. For example, if you connected your computer to the HDMI 1 port on the projector, select "HDMI 1" as the input source.
Adjusting the Display Settings on Your Computer
Once you've selected the display source on your projector, it's time to adjust the display settings on your RK3399PRO Android OPS Computer. On most Android devices, you can access the display settings by going to the Settings app and then selecting "Display." From there, you can choose how you want to use the projector. You can either extend your desktop to the projector, which means you'll have a larger workspace that spans both your computer screen and the projector screen, or you can duplicate your desktop, which means the same image will appear on both your computer screen and the projector screen.
Troubleshooting
If you're having trouble getting your RK3399PRO Android OPS Computer to connect to your projector, don't worry. Here are a few common issues and solutions:

- No signal on the projector screen: Make sure the cables are securely connected and that you've selected the correct input source on the projector. You might also want to try restarting both your computer and your projector.
- Poor image quality: Check the resolution settings on your computer. Make sure the resolution is set to a compatible value for your projector. You might also want to adjust the focus and zoom settings on the projector itself.
- Audio issues: If you're not getting any audio from the projector, make sure the audio settings on your computer are set to output audio to the projector. You might also need to check the audio settings on the projector itself.
Other Projector-Compatible Computers in Our Range
If you're interested in other projector-compatible computers, we also offer a range of great options. Check out our SOH310B Whiskylake Touch Display OPS-C Computer, which is a powerful and versatile device. We also have the I3 6100U/I5 6200U/I7 6500U CPU MINI Computer 4GB DDR4 2133MHz Computer and the 6GEN Core Skylake-U Fanless Aluminum Chassis Mini Computer. These computers are all great choices for connecting to projectors and other displays.
Conclusion
Connecting your RK3399PRO Android OPS Computer to a projector is a relatively straightforward process. By following the steps outlined in this blog post, you should be able to get your computer and projector up and running in no time. If you have any further questions or need more information, don't hesitate to reach out. We're here to help you make the most of your RK3399PRO Android OPS Computer and other projector-compatible devices. Whether you're a business looking to enhance your presentations or a home user looking to create a great home theater experience, we've got the products and expertise to meet your needs. So, if you're interested in purchasing our RK3399PRO Android OPS Computer or any of our other products, feel free to contact us for a purchase consultation.
References
- Android Developer Documentation
- Projector User Manuals